Newegg Kafka 平台化的一点经验
Newegg Kafka 平台化的一点经验
本文基于IT技术圈(西安)10月份线下沙龙整理而来,略有删减。

1. 前言
- Newegg Kafka 使用规模
- Newegg Kafka 使用场景
- Newegg Kafka 平台化KafkaCenter
- KafkaCenter 解决了什么问题
- KafkaCenter 惊鸿一瞥
- KafkaCenter 技术上的探索
2. Newegg Kafka 使用规模
我们是一家小公司,对Kafka的使用有限,这里我就放出我们系统的一个统计吧,数据截止到2019-10-30,仅统计目前已经接入Kafka平台管理的产线环境数据

每天指标如下:
| MessagesIn | BytesIn | BytesOut |
|---|---|---|
| 1.9b | 2.26TB | 12.23TB |
3. Newegg Kafka 使用场景
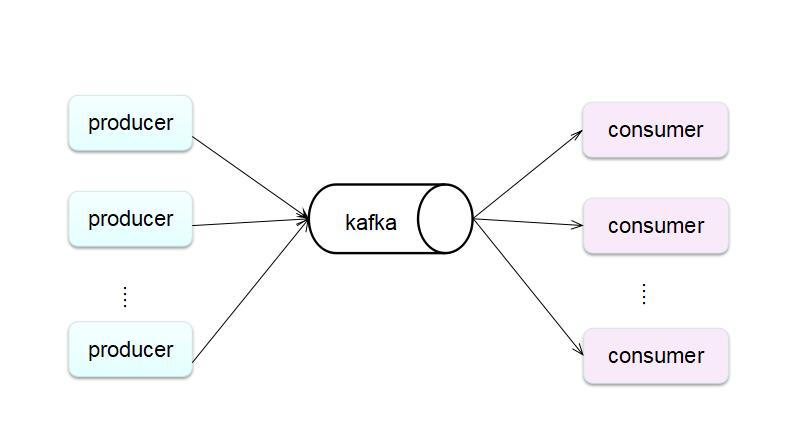
3.1 Kafka 使用场景
- 异步处理
- 日常系统解耦
- 削峰
- 提速
- 广播
3.2 Newegg Kafka 使用场景
- 异构数据同步(redis/hbase/sqlserver/cassandra/solr/es)
- 网站流量数据/日志数据
- 流式处理
4. Newegg Kafka 平台化
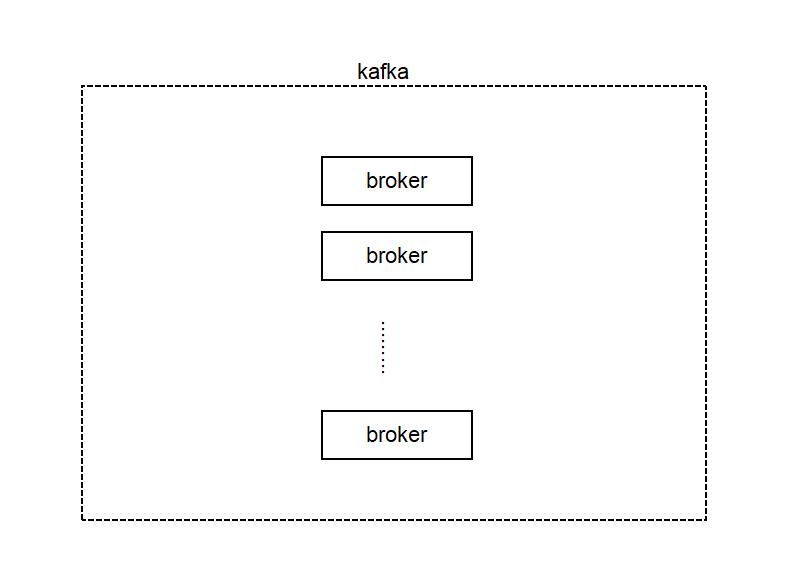
这里最要介绍两个部分,一个是kafka的监控体系,一个是平台化门户KafkaCenter
4.1 集群监控告警体系


4.2 KafkaCenter(面向用户+运维的)
Kafka Center是一个kafka治理平台,是EC Bigdata Team多年kafka使用经验的落地实践,整合集群管理,集群运维,生产监控,消费监控,周边生态等统一一站式解决方案。

5. KafkaCenter 解决了什么问题
5.1 我们面临的问题
- 创建topic,人工处理化
- 相关kafka运维,监控孤岛化
- 现有消费监控工具监控不准确
- 无法拿到Kafka 集群的summay信息
- 无法快速知晓集群健康状态
- 无法知晓业务对team kafka使用情况
- kafka管理,监控工具稀少,没有一个好的工具我们直接可以使用
- 无法快速查询topic消息
5.2 Kafka Center解决了哪些问题
- 统一: 一个平台,一站式包含自助,管理,监控,运维,使用一体化。
- 流程化: 创建topic流程化,做到对topic使用全生命周期管理。
- 复用: 平台支持接入多个集群,复用性很高。
- 成本: 只用部署一套程序,节省机器资源。降低运维成本,高效运维。
- 生态: 目前已经接入connect,未来即将接入ksql。
- 便捷: 提供便捷工具,让无需有kafka使用经验的人,都可以方便生产、消费消息。
- 全局: 可以站在不同的维度查看目前kafka使用情况
- 权限: 完善的权限设计,减少风险漏洞。
5. KafkaCenter 惊鸿一瞥

核心功能预览


6. KafkaCenter 技术上的探索
在实现功能的基础外,我们还做了更多工程与技术上的的探索,这里就做些删减,如果想了解更多的内容,可以私信我。
- Kafka消费监控算法
- 前后端技术栈完全分离
- CI/CD持续集成与发布
- 跨数据中心监控解决方案
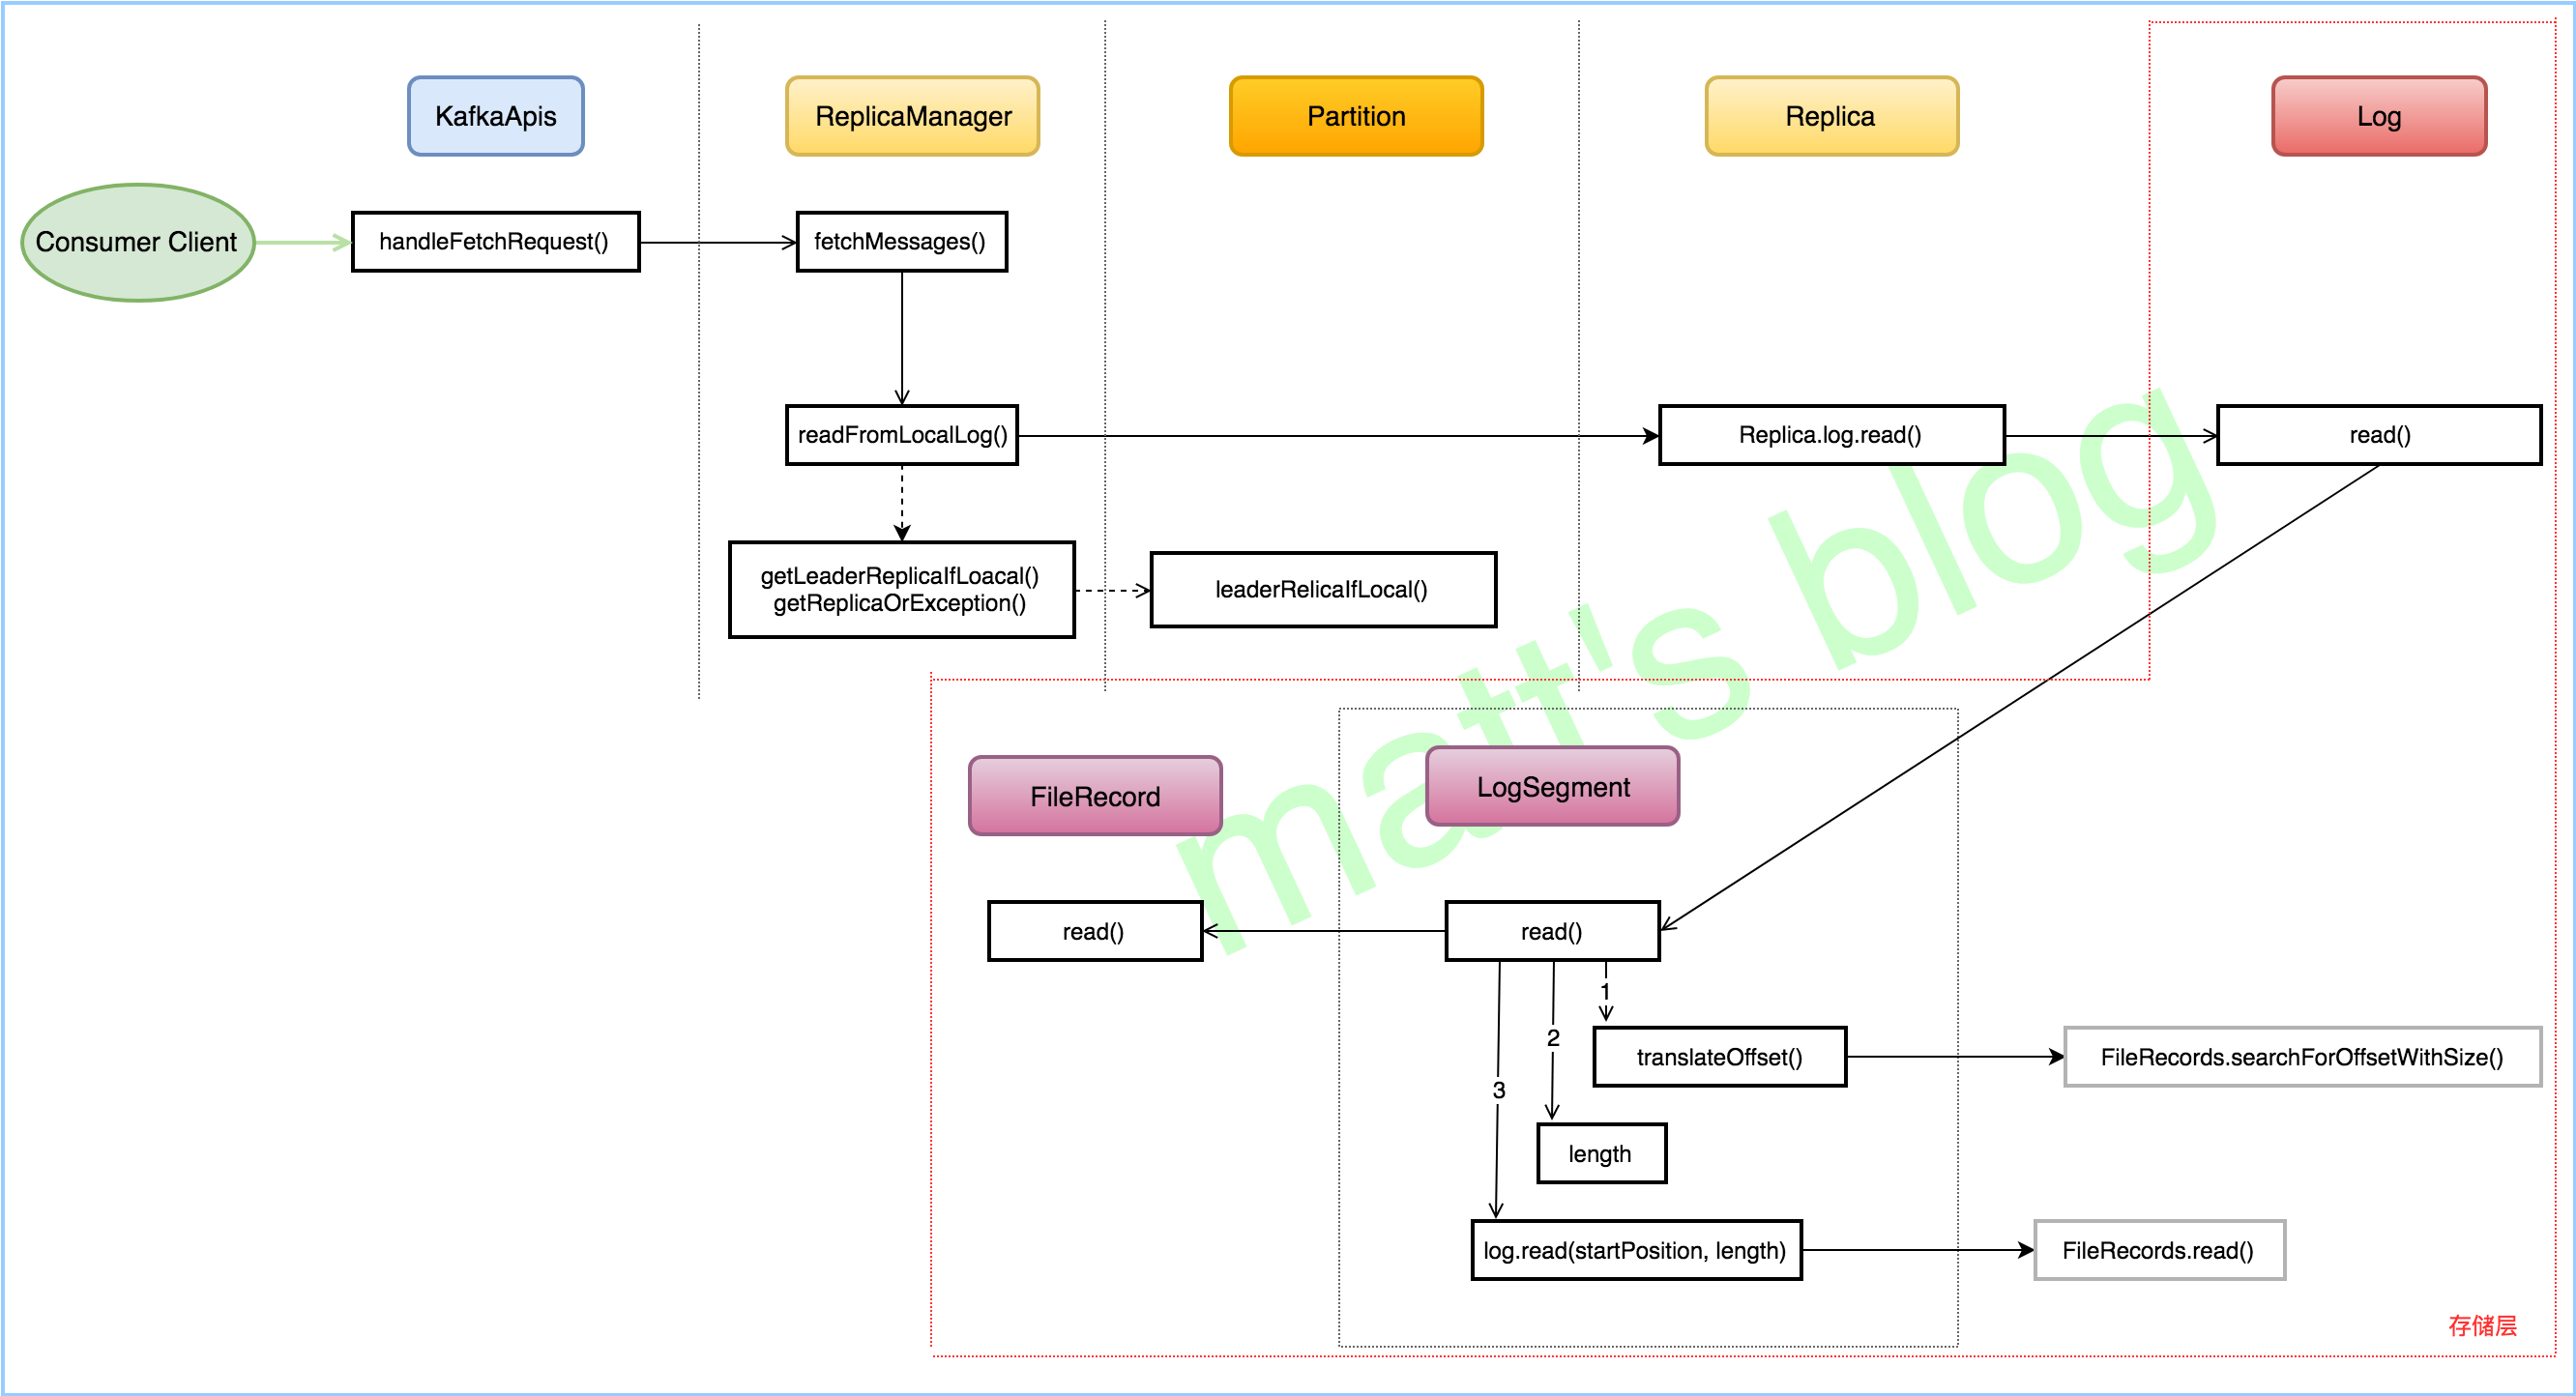
通常使用的kafka的用户都关注与消费延迟,对于延迟Lag的计算,是很多用户关心的,这里就简单说一下如何计算Lag.
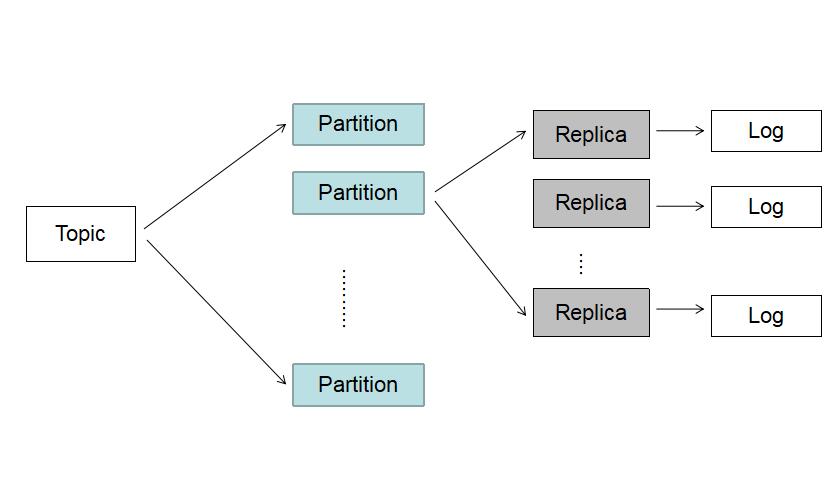
在计算Lag之前先普及几个基本常识
LEO(LogEndOffset): 这里说的和官网说的LEO有点区别,主要是指对consumer可见的offset.即HW(High Watermark)
CURRENT-OFFSET: consumer消费到的具体位移
知道以上信息后,可知Lag=LEO-CURRENT-OFFSET。计算出来的值即为消费延迟情况。
6.1 Kafka消费监控算法
6.1.1 broker消费方式 offset 获取
实现思路
- 根据topic 获取消费该topic的group
- 通过使用KafkaAdminClient的describeConsumerGroups读取broker上指定group和topic的消费情况,可以获取到clientId,CURRENT-OFFSET,patition,host等
- 通过consumer获取LogEndOffset(可见offset)
- 将2与3处信息合并,计算Lag
6.1.2 zk消费方式 offset 获取
实现思路
- 根据topic 获取消费该topic的group
- 读取zookeeper上指定group和topic的消费情况,可以获取到clientId,CURRENT-OFFSET,patition。
- 通过consumer获取LogEndOffset(可见offset)
- 将2与3处信息合并,计算Lag
6.2 前后端技术栈完全分离
- 服务端Springboot
- 前端icework(React完整解决方案)
6.3 CI/CD持续集成与发布

6.4 跨数据中心监控解决方案